Stu Thomson wanted to improve the low-rev running on his Laverda 750 twin. So here’s how he fitted a modern electronic ignition unit to it…
I have fitted a Pazon Surefire ignition to my Laverda 750cc SF1. I used the unit designed for the Triumph, BSA and Norton twins. I am a retired engineer and made some parts for this modification – but to carry it out you just need access to a lathe, even a small Myford is adequate.
I made an adaptor for the rotor, quite a simple design and I made a mounting ring for the sensor plate; again, quite simple. Both items were made from aluminium alloy to keep the weight down.
The ignition has literally transformed the machine. It now pulls from low revs (which it has never managed before), starts easily and has stopped pinking.
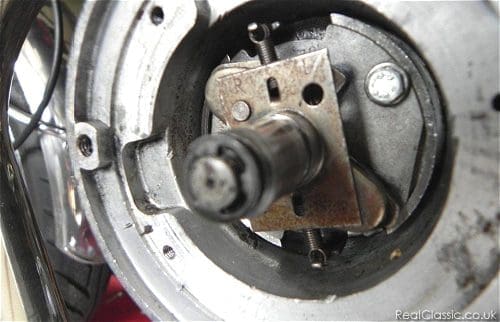
The photo above shows the original advance mechanism in position
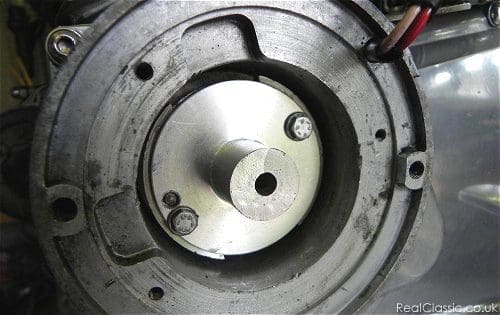
The photo above shows my blank adaptor piece prior to machining the taper to accept the Pazon unit
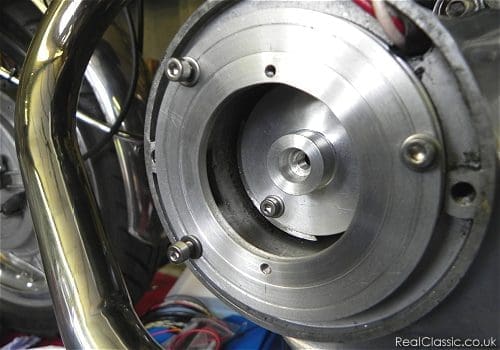
The adaptor piece machined to accept the Pazon – the thread inside the unit is m6 but I used a helicoil insert to ensure there was plenty of strength. The unit is approx 20mm overall depth, and the angle of the taper I used was approx 6.5-degrees
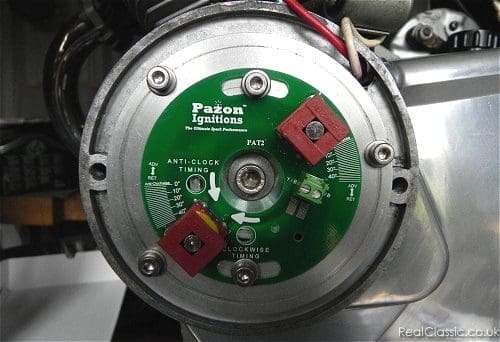
This shows the unit fitted in place initially for sizing, the backplate for the circuit board is 90mm diameter (the diameter of the old Bosch points plate). The overall thickness of the backplate is 9mm so I needed to pack the circuit board out to enable the rotor and adaptor to fit in the space underneath. I used two pieces of plate as all I had in stock was some 5mm plate but a single piece would be better and would give more thread depth for the screws holding the circuit board.
The backplate surface is also machined out for 0.5mm at 68 diameter to ensure the circuit board stays absolutely central when adjustments are made on the slots.
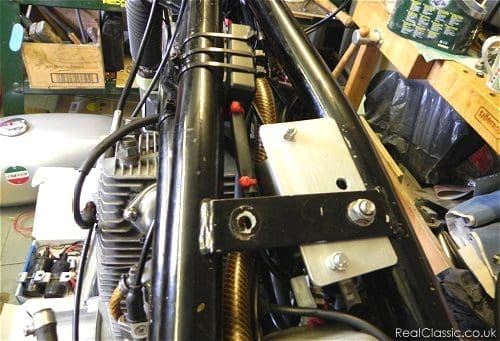
The photo above shows the coil and ignition unit installed on the frame. I have used a double output 12V coil and an aluminium heat sink plate. I also added an extra earth (not shown in the photo). Both the coil and the ignition unit are smaller than one Bosch coil!
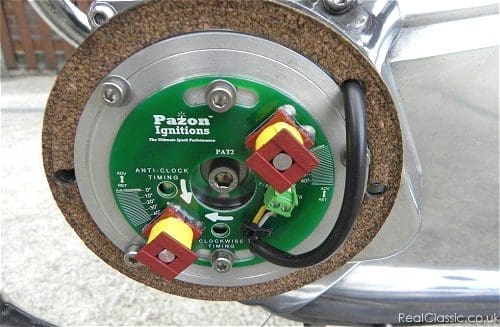
The unit finally installed and set up. I used the lower timing hole on full advance. When strobed it was spot-on!
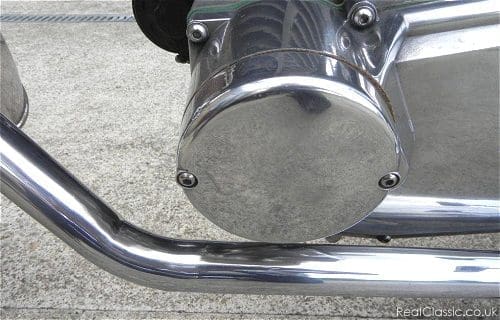
It all fits inside the points cover plate with no modifications, even though the backplate for the circuit board was quite thick
As the Laverda has an advance timing mark on the starter flywheel, it was easy to set the timing for the Pazon unit through the lower timing window on the circuit board and nip up the rotor onto the taper. When I checked the timing with the strobe the timing was spot on at 3500rpm (could not go any higher without frightening the neighbours and the cat).
The result now is that the bike pulls from 2000 revs in top – it never did this before without pinking. There also seems to be a lot more power in the mid range making it easier to ride and the bike is a pleasure to ride around town when it was a pain in the **** before.
Now that this is sorted it has shown me I am running a little rich in the mid-range so I have dropped the needles in the carbs one notch. So far the Laverda is running very smoothly right through the range.
The total cost of this modification was £134 for the system and a replacement double ended coil. Paul Goff (www.norbsa02.freeuk.com) supplied the Pazon unit.
————–


