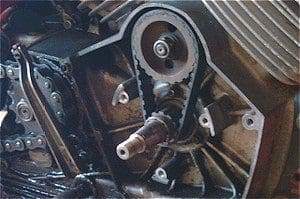
It’s been a while, but Martin Gelder cracks open the toolbox for part seven of his Moto Morini Saga. Time for a burn-up…
The last episode finished with me setting out to change the cam belt and stripping the threads out of the centre of the flywheel in the process.
Various trips to all the local car accessory shops had proved that there was no room for a three (or even two) legged puller to do its job. It’s funny how quickly shop staff can materialise out of thin air when a slightly scruffy bloke with a beard and glasses starts picking through their stock of shiny tools, measuring and discarding various pulling implements. “Can I help you, sir?”
So sometime last autumn the Morini and I wended our way to sunny Dunstable to take up Evguru’s generous offer of help in removing the now knackered flywheel. Having inspected the kittens and various components from assorted electric vehicle projects, we got down to work. Well, he got down to work while I stood at a safe distance offering advice and encouragement.
It was quickly obvious that the flywheel threads had stripped because a badly fitting puller had been used at some point on the flywheel on my bike. The “genuine part” puller I’d bought was a rattlingly loose fit in my flywheel but a comfortably snug fit in one that Ev produced from his shed’s attic. Of course his shed has an attic; doesn’t yours?
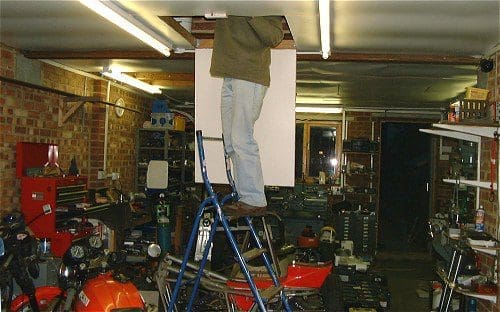
At some stage my Morini has been worked on by a bike shop more used to dealing with – I suspect – step-through Hondas and maybe the odd sit-on lawnmower. I inherited a clutch of receipts when I bought the bike but it’s now rapidly becoming obvious that all of the work carried out at significant expense for a previous owner by a particular dealer has been bodged in one way or another. So much for a service history.
Anyway, back to the problem in hand. Or in shed. Plan A was to weld a suitable nut to a suitable plate, weld the suitable plate to the flywheel, and then run a suitable bolt through the suitable nut, pulling the flywheel off the crank as the nut was tightened. Suits me.
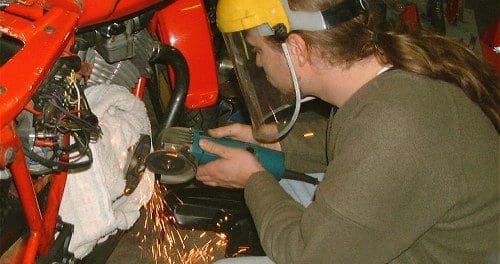
It didn’t work, of course. Given that the flywheel was already effectively scrap and that pullers were pretty cheap in the grand scale of things, we decided to skip straight to Plan G and weld the puller to the flywheel.
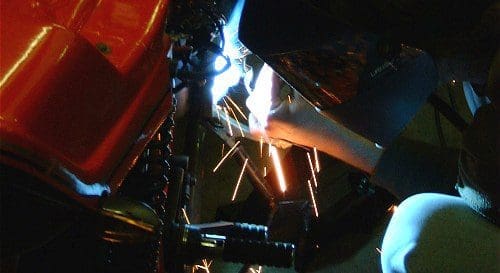
Sure enough, and as quick as you could say “this spanner will never shift it, pass me the air wrench”, the flywheel – now with integral puller – was off.
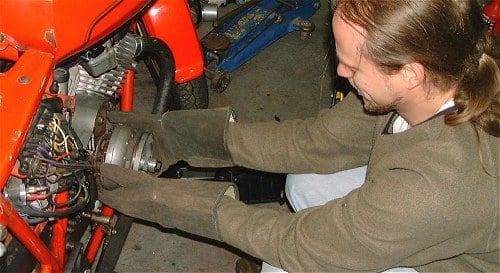
Armed with a spare flywheel from an electric start bike to get me home and with a lightweight flywheel to fit to my bike once it had been re-magnetised, I was off into the night.
************
Time passed. Winter arrived. I finished refitting my kitchen (well, almost). I started a new work project, having grossly underestimated the amount of time it would fill. Winter departed, and spring – eventually – arrived, bringing more work and less time at home.
And then a chance remark from Rowena (apparently my reader had asked when the next instalment was coming) coincided with the bike’s previous owner asking about progress. To be honest, I’d been too busy riding it to get round to fitting the new cam belt.

All I’d managed to achieve in four months was getting the flywheel re-magnetised by the fine folk at North Leicester Motorcycles. It’s a proper old fashioned bike shop with a spares counter hidden upstairs and a shed full of exotica waiting to be re-exoticified across the road from the main shop. I only went in there for a new puller, but I also ended up buying a clutch cable I didn’t really need; it was either that or a Bimota.
|
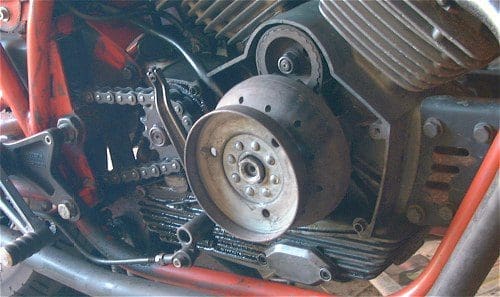
So yesterday afternoon I cleared a space around the Morini, dug out the tools and got cracking. The new puller fitted the flywheel like it should, and with barely a whiff of strain on the socket set, the flywheel popped off the crank like just like it was supposed to. With the alternator gubbins removed fitting the new cambelt was a breeze, just as everyone had told me it would be.
The alternator windings were bolted back into place and the lightweight flywheel lined up with its woodruff key on the crank. My bike is an electric start model, but I’d removed the starter last year. It was heavy, it didn’t work, and the bike is a reliable first kick starter, so I decided I’d rather save the weight of it and the heavy duty battery it requires than faff about with new shoes for its comedy centrifugal actuation method. With the starter gone, I could also fit a lighter flywheel as I no longer needed the extra cupped disc that the starter grips to turn the engine over. Less deadweight is good, but less flywheel weight is even better. Result. |
Morini stuff on eBay |
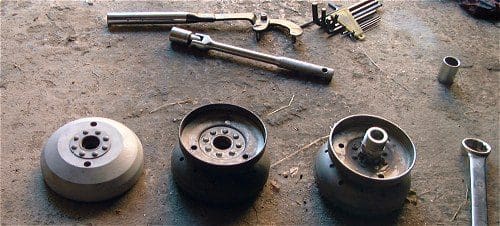
I was thinking about all this as I tightened the flywheel onto the crank. Which is probably why I didn’t react immediately when I saw the first wisp of smoke drifting lazily up from behind the flywheel.
The second wisp got my attention, and by the time the smoke had turned from “wisp” to “billow” I was frantically unscrewing the retaining nut with one hand while reaching for the puller with the other. I thought – briefly – about disconnecting all the electrics running behind the flywheel, then thought for a moment about photographing the smoke for posterity. Then I remembered that it’s really difficult to photograph smoke in low-light conditions, and that I was in a garage full of motorbikes with a small fire developing directly beneath the petrol tank of one of them.
You probably won’t be surprised to read that I got the flywheel off the crank pretty damn quickly.
Not quickly enough for the alternator windings, though. One of them is now distinctly black and crispy. Oh dear. Lord knows what’s happened to the rest of the Italian electrical marvels at the other end of the wiring harness.
![morini06051109 [Sound of gentle sobbing from behind keyboard]](https://b1944490.smushcdn.com/1944490/wp-content/uploads/sites/55/2023/09/morini06051109.jpg?lossy=2&strip=1&webp=1)
What went wrong? Well, I reckon it was one of two things. Electric start Morinis have beefed up alternators compared to their older sisters, to give a bit of a boost to the charging system. Although the insides of the two flywheels look the same, perhaps there is a subtle difference which caused the alternator coils to short out on the flywheel as it was pulled into place.
Alternatively, and I think this is more likely, the windings have been re-done at some point and a stray connection has been disturbed and shorted out when I started refitting things. The connections between the windings and the harness that carries their charge out to the rest of the system certainly look ropier than I’d expect from a production system – even an Italian one – and there are signs of shorting on the inside of the flywheel body.
To be continued…


