Check your oil level! Such an obvious statement, which many ignore at times – but to our cost…
Words, photographs and guilty swearing by Matt Hull
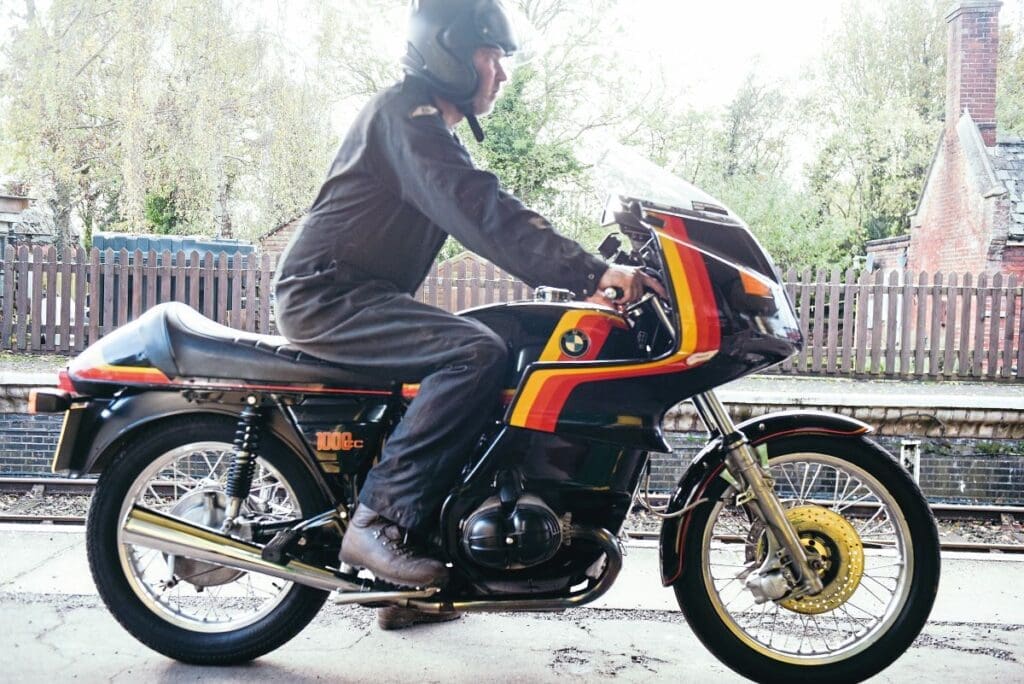
There are MANY excuses, many reasons, and large dollops of sorrow. The fact is I changed the oil and filter on my (relatively) faithful BMW R100S the evening before I was going to ride 400-500 miles to cover three jobs, ran it up and made sure all was okay. Because of the time (and I still had to pack), I thought I’d recheck the oil level once it had drained down to the sump before I left, early in the morning. After all the rigmarole of packing and getting kitted up, I forgot to recheck the oil level. Didn’t even occur to me. A lovely ride to my first stop in Brackley ensued, the 1977 RS fairing keeping me in a bubble of serenity and the 980cc boxer twin whisking me along at current-day pace, while rush-hour sheep acted like myopic schoolchildren around me.
First job was very interesting, went well, and then up to the Cotswolds, which is stunning, good weather or not. The bike I’ve largely rebuilt over the last couple of years continued to be wonderful, and after 4000 miles in about a year, I am smitten.
Enjoy more classic motorcycle reading, Click here to subscribe to one of our leading magazines.
I did see a brief oil light at one point, but strangely (and regretfully, with hindsight) didn’t worry. Or check. More jobs, a nice ride with my friend Dan, then a leisurely ride back the next evening on a quiet A14 had me sitting comfortably at 70-75mph, which, with the 32/11 final drive of the R100S (the lowest available – the RS for you anoraks had a slightly higher 33/11 to account for the heavier fairing, which my ‘S’ now wears), was never going to strain the motor.
That is until I got to some lights just six miles from home, the first stop in more than 100 miles, and the carbs faltered.
To counter, I blipped the throttle – and that’s when I heard it. The rattle of death. It all added up; like pulling a trigger if you’ve hit or miss, I knew that instant.
Next morning, I checked the dipstick, and the oil was on the bottom, but it was there. I filled it to max and took it for a ride. Below 2000-2500rpm it was fine, but above there was a bottom end rattle. Not as bad as I’ve heard, which had me and others wondering if I may just be lucky, and it may be something else.
Still, a strip was the only answer, so I left it for two months in the corner while sulking on the naughty step and doing other things.
Finally, I faced my demons. Wise folk had said to check as I stripped to save unnecessary work if, for some unknown reason, the Gods were smiling and it was a noisy tappet, broken push rod or something equally unlikely. Wise, if optimistic advice.
Strip tease
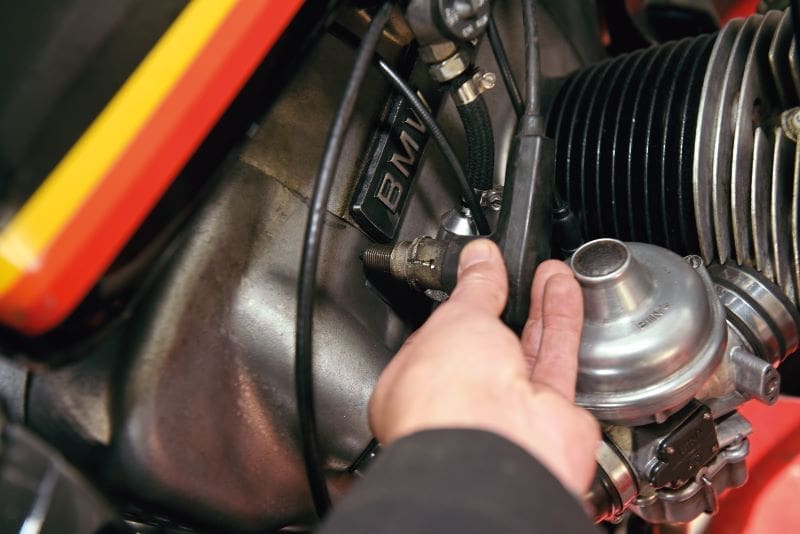
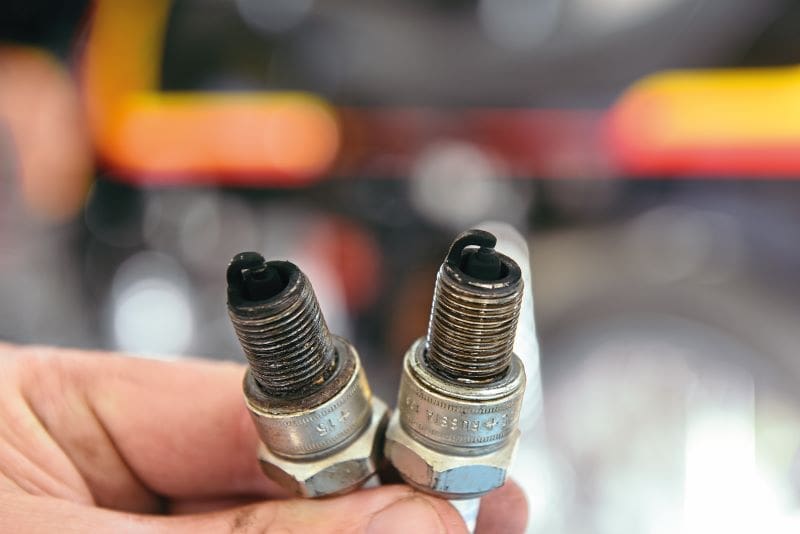
Start from scratch. The cylinder heads and barrels need regular checking for tightness, so I retorqued the ‘head bolts; all was fine. Plugs looked sooty and rich, the mixture was too far out, and the motor would only fire on one pot; Bing carbs don’t seem to like being left, but the plugs were to blame. With spare plugs fitted and the mixture at 1¼, turns out (it had been more than two) it sounded a lot sharper. Oooo.
Another quick ride… I needed to warm the oil up to drain anyway, and it felt lovely. But as it warmed over the coming mile, above 2000rpm the rattle came back, in time with the revs.
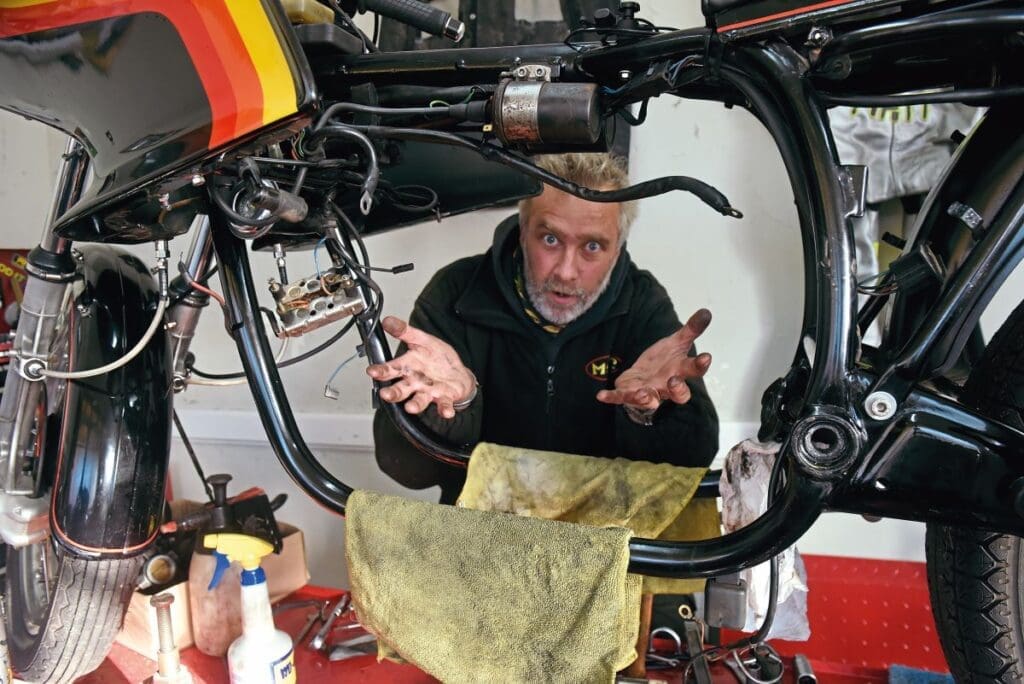
Steadily back and onto the bench – for how long will she fester here, I wonder?…
Strip down
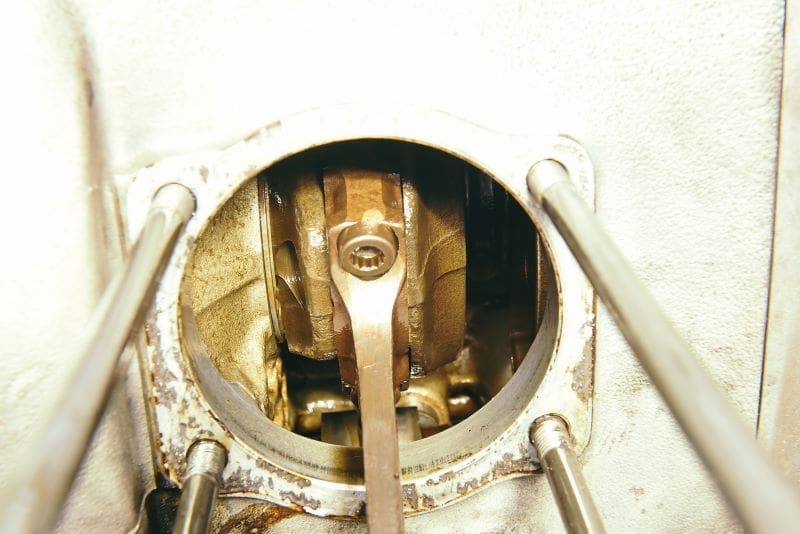
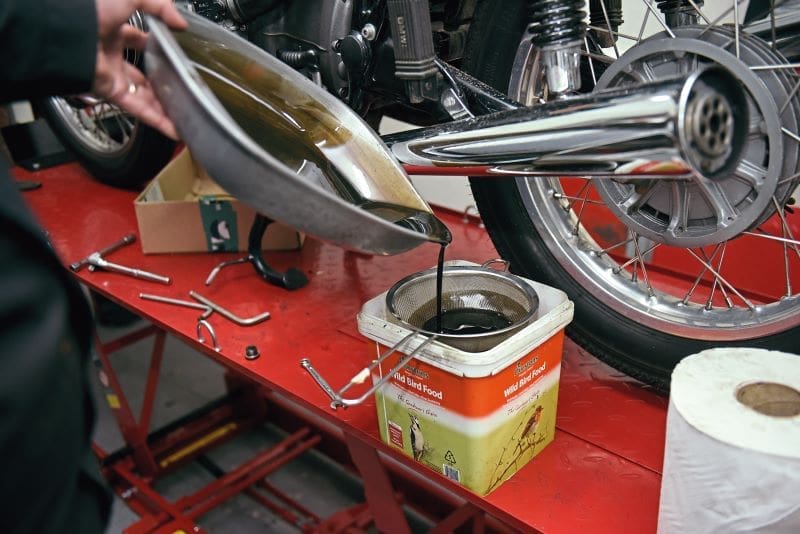
Oil drained, filter out, cut up and checked for shrapnel. The oil looked clean put through my (kitchen) sieve. Partly because I’ve done BMW airhead engines a few times, partly because they are remarkably similar to a car engine and partly because they stick out at a most agreeable height, stripping the pots down is easy. Lay it all out so refitting is methodical and check as all parts come off. Rocker arm faces and rocker shaft end float, pushrod ends and straightness all got checked in that rare chance it wasn’t bearings. But all was fine.
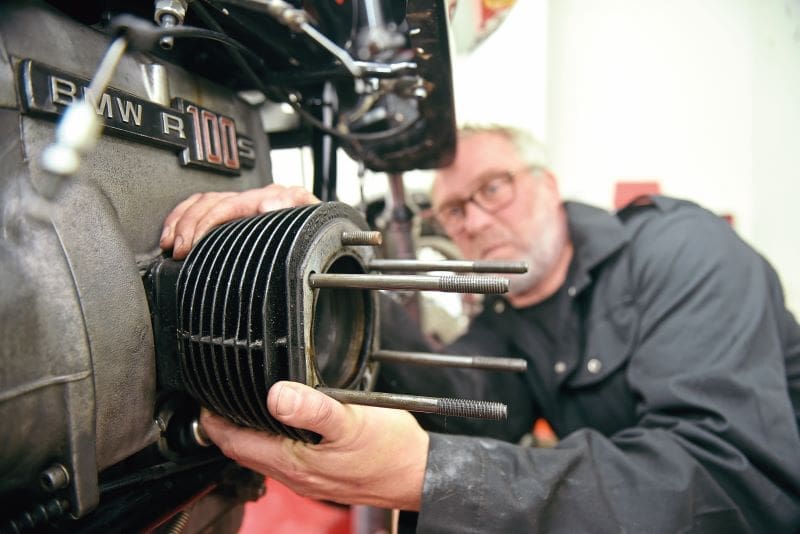
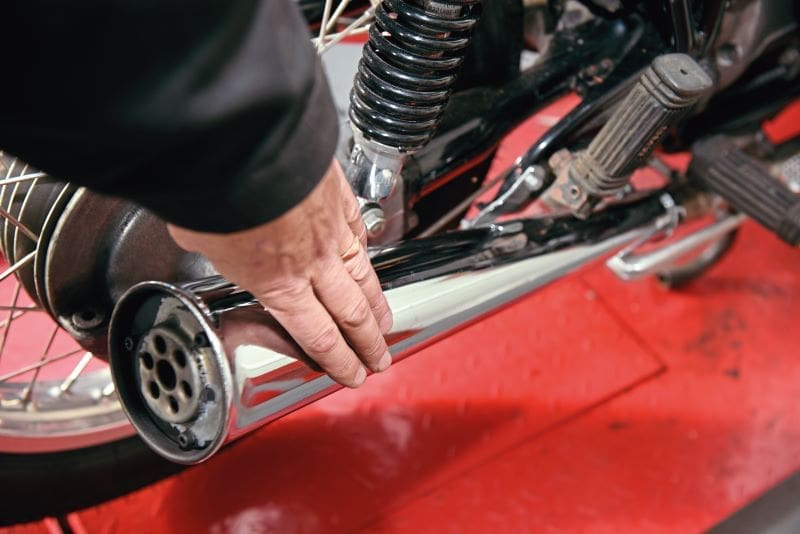
The heads came off beautifully. The barrels were slightly more stubborn due to my love of Wellseal on fitting, the stickiest gasket sealant known to man. Apart from dried Weetabix, but that makes a terrible sealing compound. The pushrod tube rubbers were also fighting removal, but the right-hand side had been weeping, so one job off the list!
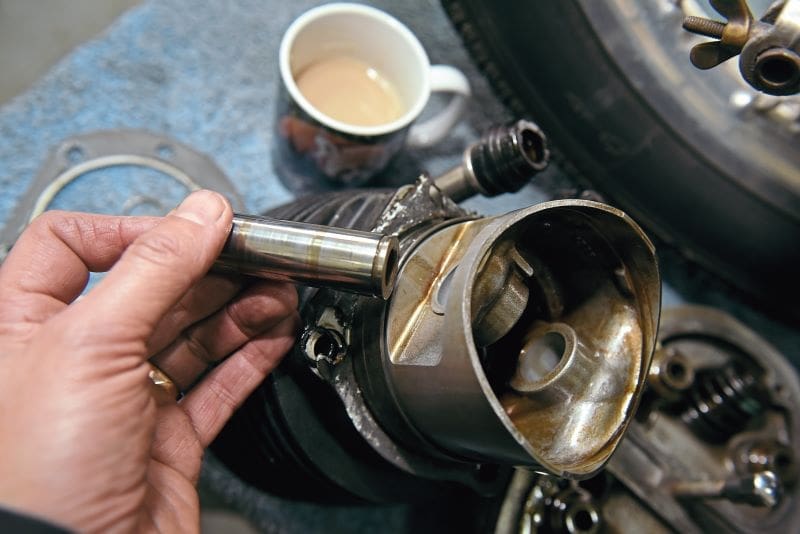
First: good news. The cylinder heads and valves looked fine, with the exception of too much soot, so will get cleaned, and the valve seats and faces checked before refitting. The barrels were removed with the piston still in place, by having the piston just low enough to get to the gudgeon pin circlip. This should prevent any damage to the rings, as the barrels also looked like new, complete with honing marks.
The little end bearing is a one-piece shell and looked slightly dark top and bottom, but the pin fitted nicely with no slack, and after 70,000 miles, wear is expected. Still, add to the list. Tappets came out and looked lovely too, good fit and no scoring. It’s all pointing to that bottom end.
Conrods off, another straightforward job on a Beemer, but beforehand, I felt for endfloat and movement on the big end. Endfloat was within tolerance, but the left-hand side definitely felt slacker, even if it had no more movement.

Aha!
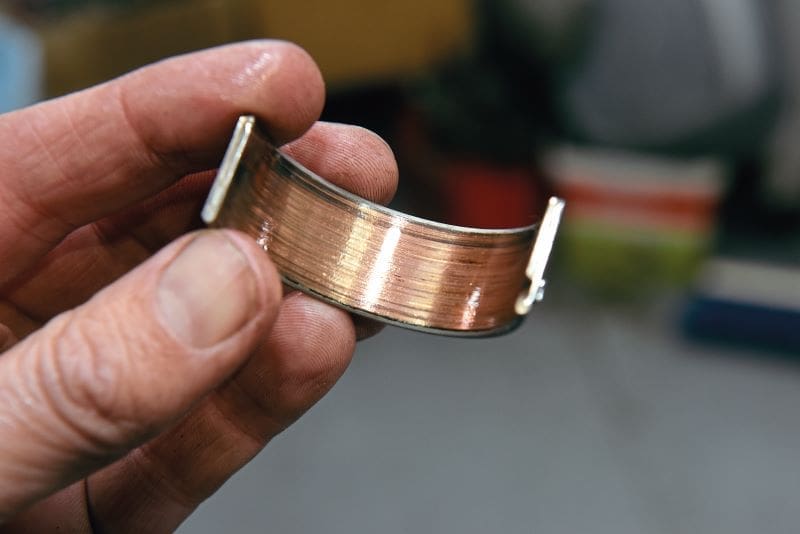
And so, the left-hand had to come out. Undo the two Torx bolts holding the conrod and end cap together around the crank journal and with a deft hand, you can hold the cap of the conrod as you remove the two bolts. Once removed, the death noise had a home – the shell bearing, which should be light grey in colour, was down to the copper.
It wasn’t rough, hadn’t been chewed up, and checking the crank journal revealed what looks and feels (with your nail, but needs closer inspection) alright. The right-hand side bearing shells had faired the last 70,000 miles much better, showed by being light-to-dark grey, which I’ve been informed shows it getting hot at some point. The right-hand side crank journal looks like new, but also shows me that the left side hasn’t escaped as I first thought.

What else?
I have a guilty party in the dock, your Honour. But did they have an accomplice? Or was another innocent part hurt in this malicious under-lubricating crime? With 70,000 miles and large amounts of the bike already removed, plus I want to keep this bike, there was one thing for it – the mains bearings had to be checked.
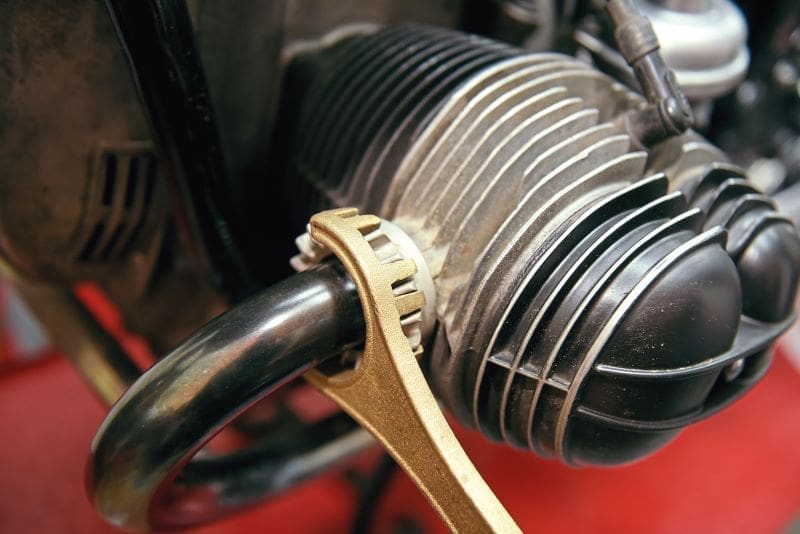
Gearbox had to be removed – remember these BMWs are technically pre-unit machines, even though they were made late into the 1990s (name another, Moto Guzzi, Norton Commando 961?). This allowed the clutch and flywheel to be removed; I can remember why they call this early model the heavy flywheel model! Then more ancillaries, like starter, alternator (don’t be tight – machine or buy the removing tool; it makes life so easy for a few quid), wiring loom, cables et al to aid getting the block out without chipping the frame paint. I even try to remove the cylinder studs, but they are tight and also double up as handles, if gentle. And onto the bench for a more civilised working environment.
Some more good news. The crank seal was dry, as was the front seal and camshaft seal. Crank seals will need to be replaced, but it’s good to see I’d done them correctly the first time. I may use this chance to replace the camshaft as its front nose that locates the points is mashed, but it’s a minor point at present.
I took the front casing off to reveal the front crank bearing holder and the way it comes out, but when going to measure the crank end float to see if thrust bearings were in tolerance (they control the amount of sideways movement the crank has), I had more than 2mm, when an ideal amount is about 0.10mm. Measure before front case comes off as it holds the roller bearing. Bumholes.
I’m now bartering some photographic work with my esteemed genius engine builder friends, BDK Race Engineering, to measure and check the shells and bearings, then investigate the mains bearings and judge what I need to do to the crank.
It may get away with polishing, it may need regrinding – or it may be alright.
Whatever needs doing, all the parts are available, even oversize shells and the like. I never did refurbish the bottom end, hoping it was alright, so I suppose I’ll know all is good for another shed-load of miles when it’s all back together. When…