I have wanted to own a Ducati for a long time. One became available from a surprising source – someone I knew outside of biking. I saw him wearing a Ducati badge and following a brief discussion, he said he was thinking of selling his 1992 750SS Supersport.
After taking another friend along (who owned a 748 Ducati) and both of us having a test ride, a deal was soon done and at last I owned a Ducati. Hooray… or at least I hoped so, given reports that they are unreliable with fickle electrics and are difficult to work on.
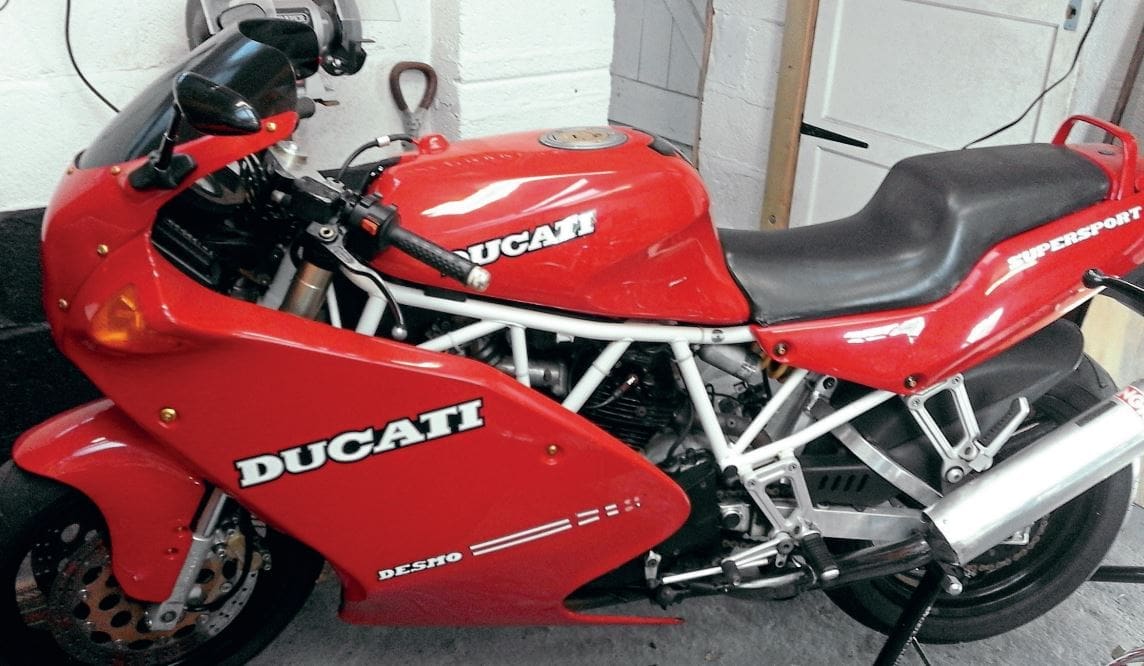
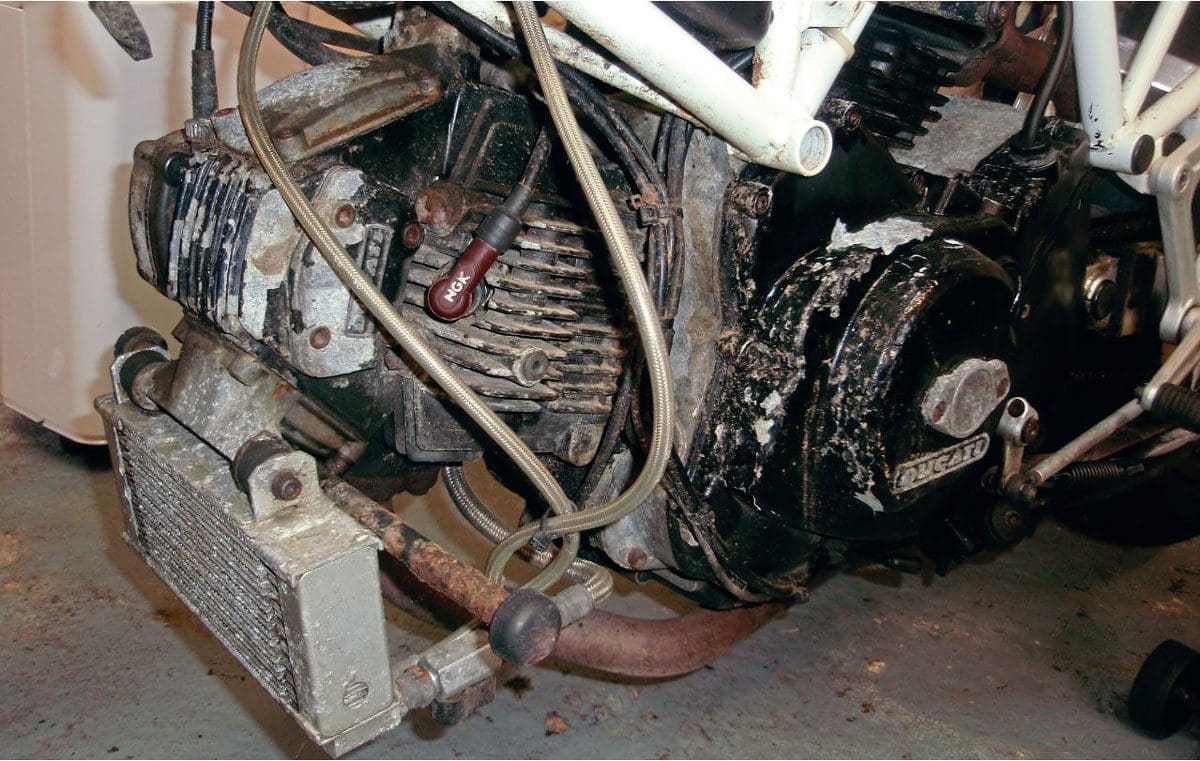
The bike looked in good working order, although the fairing flattered its appearance by hiding a tatty-looking engine. Surely all it needed was refreshing. As always, you discover much more when you get the bike home and use it a bit – you see and learn a lot more than a brief test ride reveals. However, nothing major was found. Minor faults included the charge light not coming on because it was disconnected, with some of the other problems shown as advisories on the last, albeit current, MoT certificate.
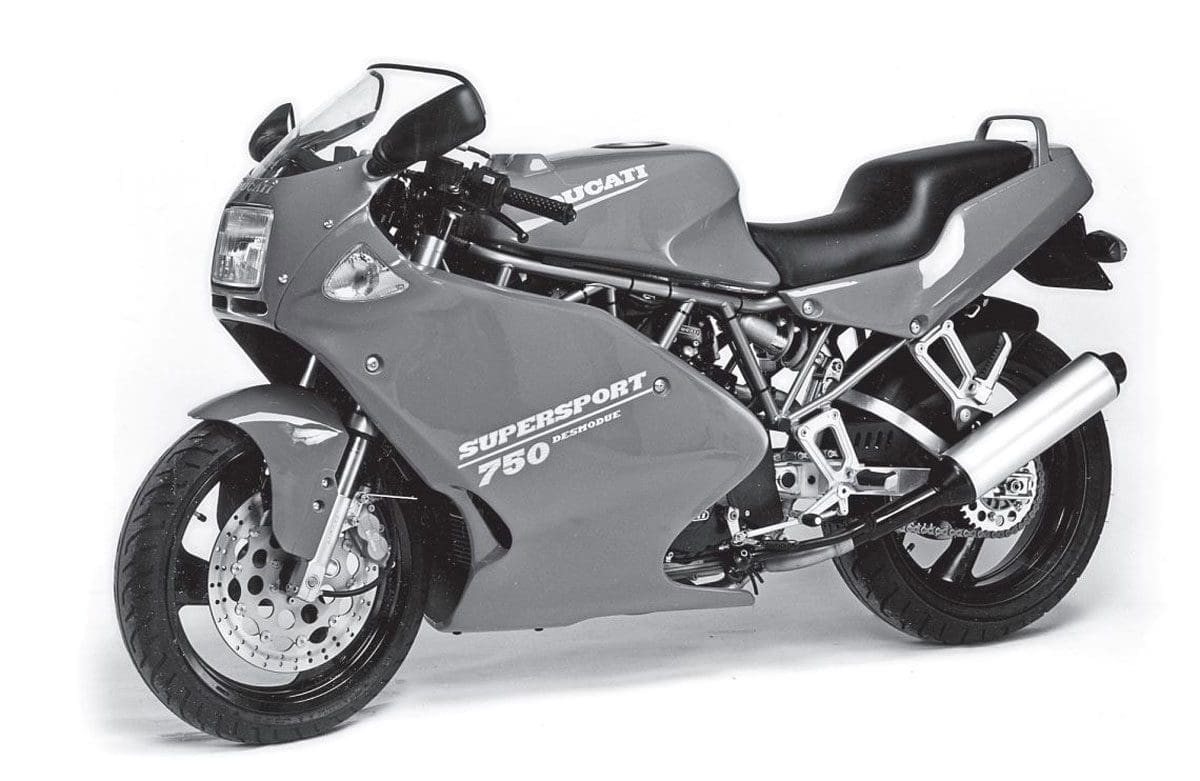
Brief model history
The Ducati model being refreshed here is not the 1970s and early 1980s 750SS or 900SS, which are both gorgeous but now go for silly money. Here we are dealing with the later 1990s 750SS that was preceded by a similar 900SS and 600SS. There are significant changes between these different years, with the earlier models having bevel drive for the camshaft, including the very desirable and even more expensive round case early ‘70s 750SS. By the time of my bike, the use of toothed belt drive was well established. My 1992 bike appears to be non-standard in some matters, because it has twin front disc brakes that were standard on the 900SS but were not fitted to the 750SS until 1994. It also has twin circular headlights where the square headlight should be expected. I’m not sure if either were optional when new or owner modifications; probably the latter (twin headlights were an aftermarket add-on – Matt).
Cambelts and tappets
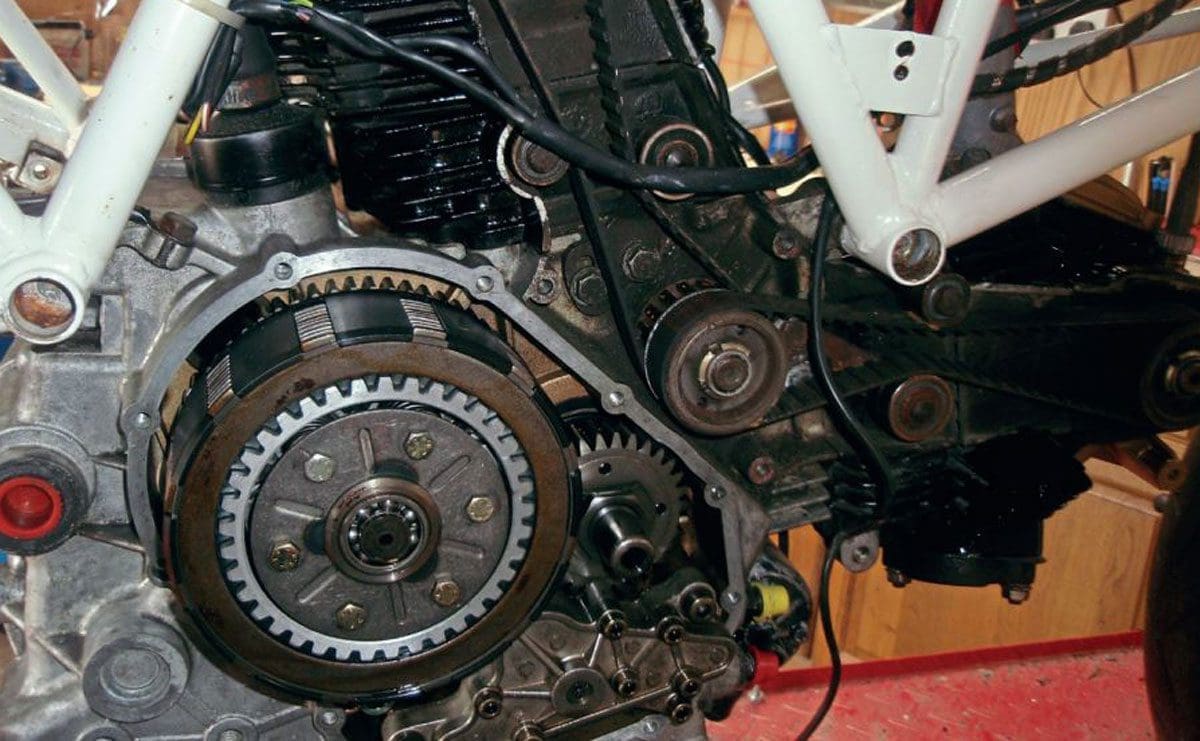
The poor appearance of the engine did not give any confidence that regular and routine maintenance had been assiduously carried out, so before running the engine for much longer, it would be wise to change the cambelts and check a few other things, including changing the engine oil and filter.
As is often repeated, cambelts are as cheap as chips but the damage that can result from not changing them is very expensive. Even with modest mechanical knowledge, they are quick and easy to replace, but do read and follow the instructions in a workshop manual. If you can change spark plugs and do an oil and filter change, you need not fear changing the cambelts. There is a Ducati special tool to set the belt tension, but this can be replaced by a normal and readily available spring[1]balance that can pull and read clearly at 10lb (4.5kg).
The next maintenance to be carried out was the tappet clearances. Again, these are easy to check, although access to the rear cover on the rear cylinder is rather awkward. Because I wanted to generally tidy up my bike, I decided to remove the aluminium swinging arm together with its Showa damper, and this made working on the rear tappets much easier. Removal of the swinging arm is not difficult but similar access can also be achieved by just removing the damper unit. You will still need to support the rear of the bike without any weight on the swinging arm or wheel.
With Ducati using desmodromic valves, this means there is more than usual to check and possibly adjust, with both the normal valve opening tappets plus the closing ones. Checking the normal opening valve tappets is by using a normal-sized feeler gauge, but the closing one is very thin at 0.05mm. The difficulty of using your thinnest, or even thinner, feeler gauge is recognised in some manuals, that advise if you can easily and freely rotate the shim without feeling any significant clearance then it’s probably within tolerance.
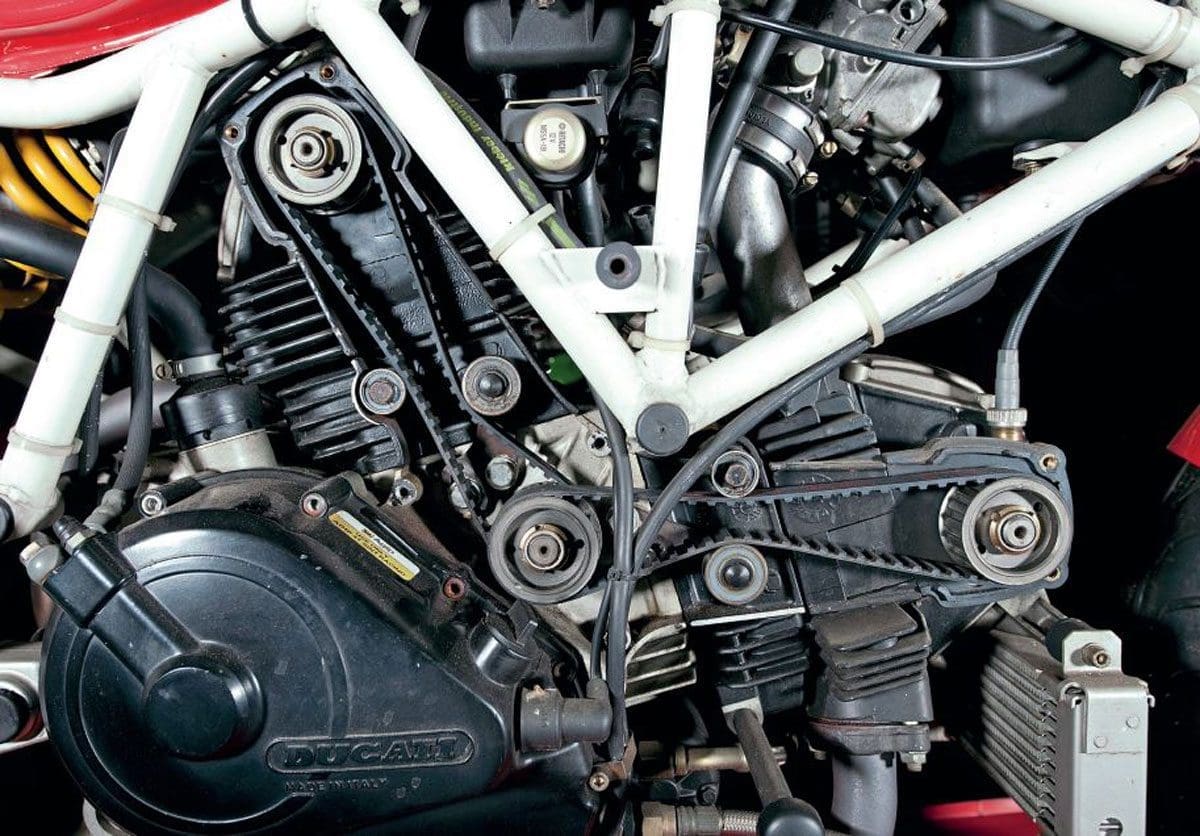
Adjusting the tappet clearances is a bit more difficult but even if you do not want to tackle this, it is worth checking them because if they do not need adjusting, as mine didn’t, then you don’t need to pay someone to check them.
Carburation
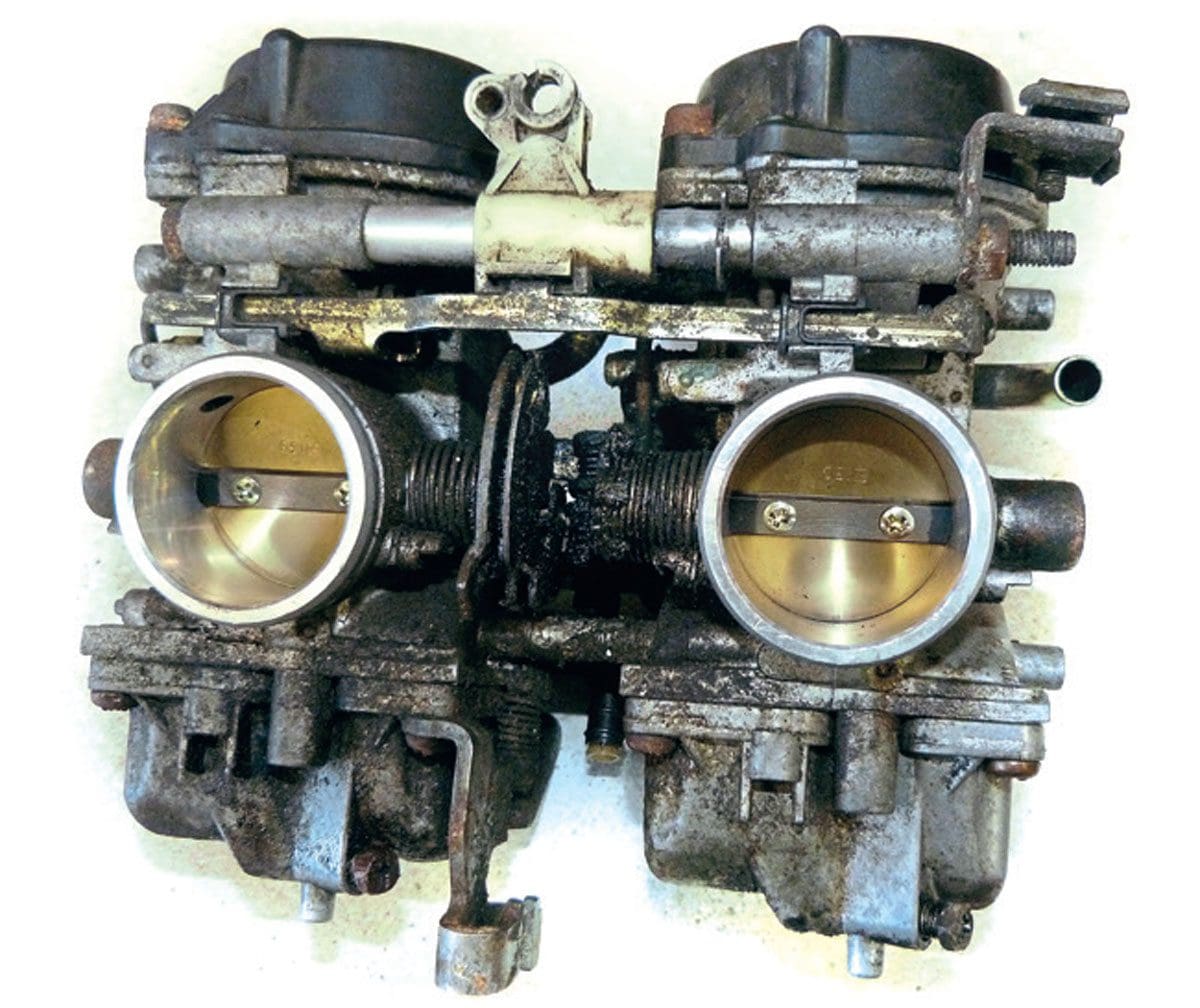
This type of carburettor is a bit unusual, at least for me, with them being constant velocity (CV) with air pipe connections to small plenum type boxes and also having the engine oil connected and flowing through them (to aid heating preventing carb icing I seem to remember from my 600SS? – Matt).
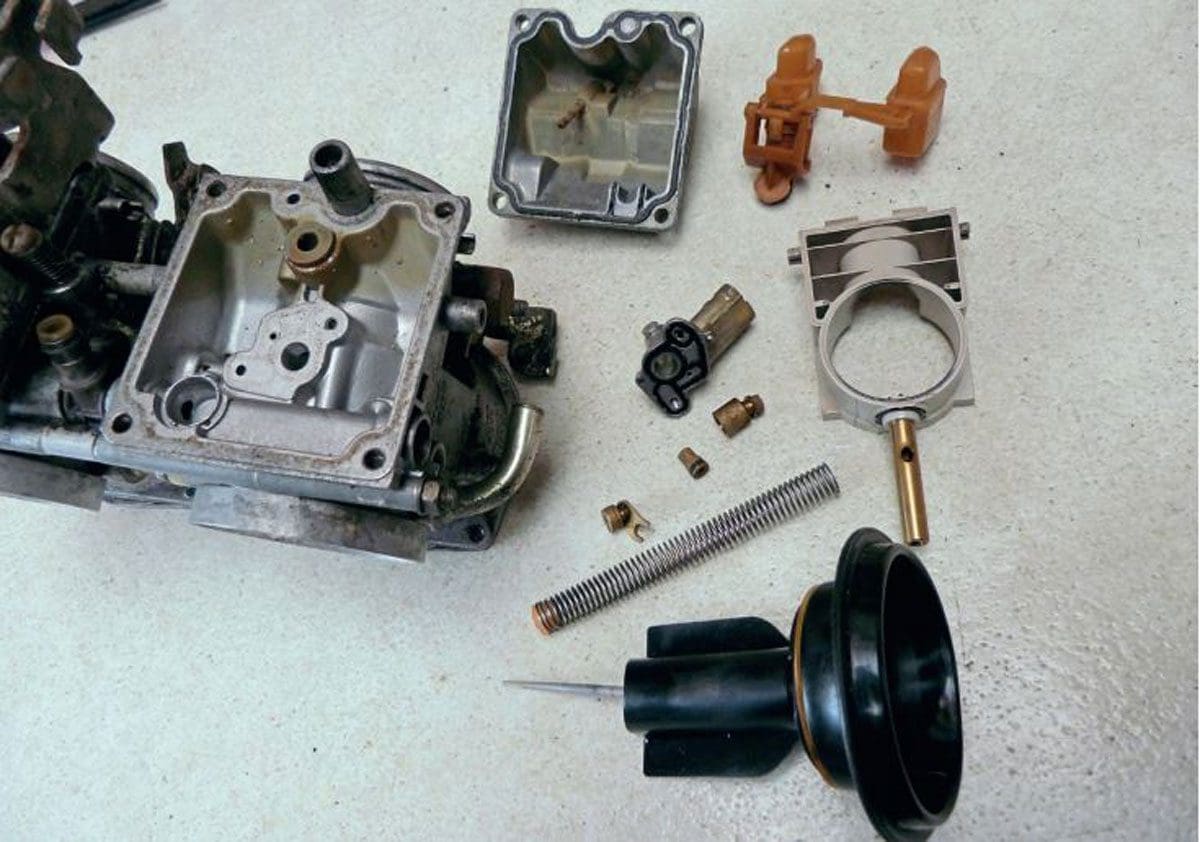
This bike has twin 38mm Mikuni carburettors securely connected and fixed to each other. Service kits are available from NRP Carbs, Manchester, and these can be stripped and serviced by a competent owner but need careful and confident handling. When dismantling carburettors, it is highly recommended that they are taken apart one at a time so components are not mixed between the two, and if (or when) you get a bit confused or uncertain, you have a complete carburettor to compare your work with. They can be removed, dismantled and cleaned reasonably easily and, as with any carburettor work, care should be taken to note the position and settings of all possible adjustable parts.
For example, it’s essential that the pilot screw position is noted down by removing first the covering pilot screw plug and then gently screwing in the pilot screw, counting the number of turns and part turns before it stops. This can then be used to return it to its original position as set by the factory. Don’t rely on or try to remember these settings – write them down for both carbs. It is also a good idea to take numerous photos that, with smartphones etc., will provide a pictorial reference if needed. There are several very small brass jets that have probably not been moved for many years, and great care should be taken with them.
From the start, make sure the screwdriver is a good fit and be positive, but not brutal, so as not to damage the face and edges of the jet openings. The jets can be checked that they are clear by spraying with an extended tube nozzle, some WD40 or similar, when it should be seen passing through and squirting out from another fine opening in the carburettor, with finally a jet of compressed air to clear away any remaining fluid. Be careful not to use too much air pressure.
For the less sure owner, there are many carburettor restoration specialists (e.g. Coln Engineering, Gloucester) who will do this for you. After ultrasonic cleaning of the aluminium parts and replating with bright zinc the external metal components, your carb will look and perform like new. If you do the work yourself then it’s a good idea to use a proprietary carburettor cleaner to get good results.
If your bike is laid up for some time (and this is sometimes the case over the winter months), it is advisable to drain the carburettors of petrol. This will help prevent the very small jets becoming blocked with dried-up petrol, leaving a thin film deposit. With the hopefully obvious safety precautions taken with highly inflammable petrol, these Mikuni carburettors are easily drained, after the petrol tank tap is turned off, by opening the drain screw and the petrol flowing out the run-off pipe near the side stand, below which a container can be placed.
Electrical woes
As expected, when reconnected the charge light came on and with the engine running, it remained on. All it needed was to look at the regulator/rectifier to be unimpressed with its appearance – although this does not necessarily mean that it was not working. The reg/rec was removed and tested as described in the manual, indicating that it was faulty. This was easily fixed with a new Electrex replacement, albeit slightly confused by the wiring on my bike not matching that shown in the two workshop manuals available to me.
However, the wiring diagram supplied with the new device was simplicity itself and the new reg/rec was quickly installed with a recommended difference of not using the original rubber mounts but it fixing directly to the frame brackets to assist with cooling. It is worth noting that this replacement reg/ rec must have a lead acid battery and not an AGM (absorbed glass mat) or lithium type, and to assist any future owner I printed a warning label and put this on the battery box.
There was a lot of PVC electrical tape at numerous places around the bike. This is almost always pulled on too tight, which stretches it, and then it slowly shrinks back, ending up loose and a mess, as shown next to the reg/rec. The loose tape lets in damp and water that cannot easily escape, which then corrodes the connectors it should be protecting. It is much better to use heat shrink tube that provides a neater appearance and more permanent protection.
If connectors cannot be seen or are not exposed to getting wet, then why not leave them uncovered? Although, as with wiring, they can be made tidy by fixing with tie-wraps. With the white frame on this model, I used white tie wraps. Another connection not so much missing but a removed part was the side stand switch, meaning the indicator warning light – that should let me know the stand is down before riding off – was not working. This was quickly and easily fixed with a replacement switch.
This indicator light, while not like the system on a new bike that stops the engine if you select a gear while the side stand is down, is much better than the automatically retracting spring-operated stand fitted to some Ducatis, which has resulted in too many bikes falling over when owners thought the stand was down.
Improved appearance
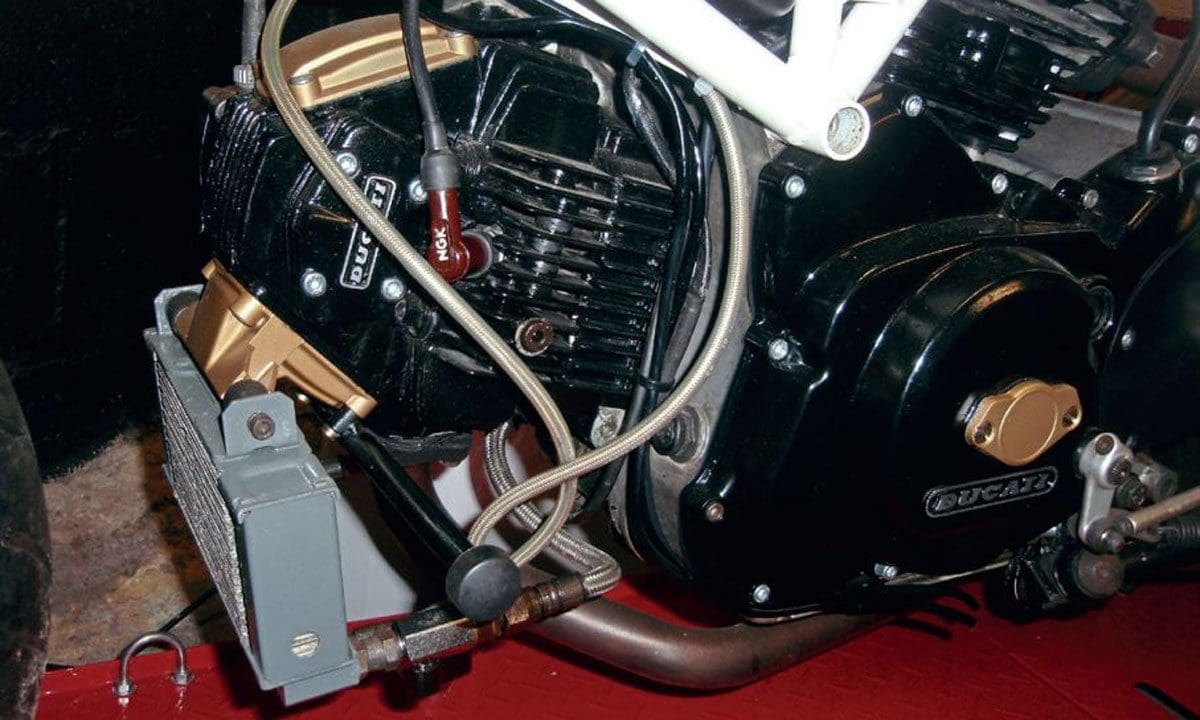
Given the poor appearance of the engine, this was not difficult to improve and just required cleaning, rubbing down and repainting. The cylinder heads and barrels were done in situ by careful removal of loose and flaking paint, followed by hand-painting with heat-resistant satin black. The rocker box covers were removed, together with the clutch and alternator covers, so they could be more easily cleaned and repainted.
Ducati produces a special tool to remove the alternator cover but this is not necessarily needed; I used a small puller with 6mm bolts of suitable length. A puller is necessary because the stator is fixed in the outer cover, and there is significant magnetic resistance to this being removed that should be done in straight line because of the limited clearance with the rotor (and not levered or wriggled off). The rocker box covers had some remnants of gold paint, so this was used again and all covers refixed with shiny new zinc-plated Allen head screws from Westfield Fasteners, both enhancing the overall look.
Stainless steel fixings were not used but if you prefer them, it is recommended to use an anti-galling lubricant to prevent cold-welding that can occur, which makes them stick in place and therefore difficult and possibly damaging to remove. The aluminium crankcases were a little corroded and these was carefully cleaned off with different sizes of wire brushes – made much easier because I had already removed the swinging arm to adjustthe tappets.
The bare finish of the crankcases was then protected by ACF50 anti-corrosion spray and the swinging arm polished. The white frame had spots of rust showing through and small areas were gently rubbed down. By some strange quirk of fate, I had a small tin of Hammerite white garage door paint; I don’t know why I had it or what made me try it, but it matched virtually perfectly, and it is now difficult to see where the frame has been touched up.
Remaining refreshing
There remain a few other matters to sort out during this refreshment work, and this includes replacement front discs. Just looking at them, or at least the nearside disc, it can be seen that there is a ridge, indicating a reasonable amount of wear. My trusty Moore & Wright micrometer (which, of course, has an imperial measuring scale although all Ducati’s figures are metric) indicated the thickness of the worn part of the nearside disc to be 0.111in; that equates to approximately 2.82mm.
The unworn section measured 0.15in (3.8mm) and the workshop manual gave a service wear limit of 0.0118in (0.3mm), resulting in a minimum acceptable thickness of 0.138in (3.5mm) – which simply means it is worn out and needs replacing. This was not mentioned on the last MoT certificate even as an advisory, but although there was obvious wear, the garage probably did not have the manufacturer’s figures and criteria to fail.
Also not included on the MoT was a very slight leak from one of the front brakes’ Brembo calipers, but they obviously needed attention. The pair were sent away to Brake Masters, Chesterfield, for refurbishment. They came back in excellent condition and were refitted with new brake pads.
Words and photography by David Bagshall


